
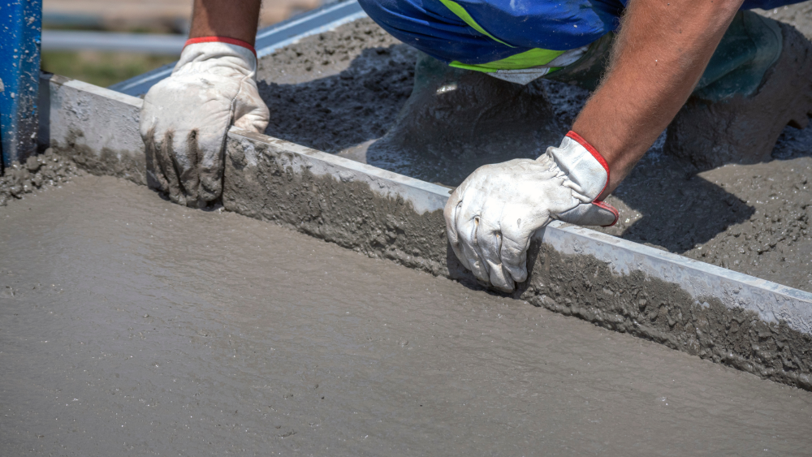
If you’re working on a curb ramp project in Solano County and need a fast ADA compliance reference, this checklist covers the criteria that matter. For concrete supply companies in Solano County and across the North Bay, Stevenson Supply carries the materials to get this work done right, from forming supplies and concrete accessories to detectable warning tiles and traffic control.
Use this as a field guide. Always verify requirements against your project’s governing documents, local agency amendments can override state and federal minimums.
Get your tools and materials together before you pull a single stake out of the truck. Showing up short on string line or stakes in the middle of layout wastes time.
At Stevenson Supply, we stock the stakes, string line, lumber crayons, and Stabila levels you need for a setup like this, everything in one stop at our Santa Rosa location.
Take your time here.
Measure 3 feet along one side of a corner and 4 feet along the adjacent side. The diagonal between those two marks should be exactly 5 feet. If it’s off, adjust your layout until it hits 5 feet on the nose.
For larger slabs, scale it up: 6:8:10 or 9:12:15. The ratio is what matters.
Pro Tip: Set batter boards 2–3 feet back from each corner before you drive any stakes. Batter boards let you pull string lines to re-establish corner positions if something gets bumped during staking. They take 20 extra minutes to set up but save hours of re-layout headaches.
With corners marked and layout confirmed square, pull string lines between corners at finished slab height. Your form boards will go inside, or flush to, these strings.
Place your form boards along the string line, inside face flush to the line. Don’t stake yet — get the board positioned, then drive the stake.
Stake spacing:
Drive stakes on the outside of the form board, close enough to make solid contact. A stake that’s 2 inches away from the board doesn’t hold it; the board just bows in to meet the concrete.
Heads Up: Don’t drive stakes so deep that the top sits below the top of the form board. You need that stake top flush or just above to get a solid fastener.
Once all 4 sides are staked and fastened, walk the entire perimeter with your level. Check at every stake, not just the corners.
What to check:
If you’re working with a rotary laser, set it up at finished slab height and walk the receiver along the top of the forms. Any high or low reads indicate a form that needs adjustment.
Recheck after every adjustment. Moving one stake often affects the boards on either side of it.
Pro Tip: On a slab larger than 400 square feet, a rotating laser saves you significant time here. A hand level is fine for small jobs, but on a 20×30 pad you’ll want the laser doing the work. We carry Spectra and Pro Shot laser setups at both Stevenson Supply locations.
You’ve set forms, driven stakes, and walked the perimeter. Before you call the pour, run through this final check, takes 10 minutes and costs nothing.
When the perimeter is solid and your diagonals are equal, you’re ready.
Getting your forms right starts with having the right materials. At Stevenson Supply & Tractor Co. we carry everything you need for a solid setup, and our team is here to help you figure out exactly what that is for your job.
Stop by our Santa Rosa location or give us a call before your next pour.
Reach out to Stevenson Supply & Tractor Co today!
📞 Call us: (707) 575-3335
For standard 2×4 form boards, stake every 3 to 4 feet. For 2×6 boards or deeper forms, tighten spacing to 2 to 3 feet. Always add a stake within 6 inches of any butt joint between two boards. Concrete exerts significant lateral pressure, and under-staked forms bow or blow out.
Measure both diagonals, corner to corner across the slab in both directions. If the measurements are equal, your layout is square. The 3:4:5 triangle method is useful for checking individual corners, but diagonal measurement is the only way to confirm the whole layout is true.
A hand level works fine for smaller slabs, under 200 to 300 square feet. For larger pours, a rotating laser and receiver is worth the setup time. It lets you walk the entire perimeter and catch any high or low spots quickly, rather than checking point by point with a hand level. Stevenson Supply carries Spectra and Pro Shot lasers if you need to pick one up before the job.
For most residential or light commercial slabs with 2×4 form boards, a 1×2 or 1×3 wood stake 18 to 24 inches long is standard. Steel form stakes are also common for jobs where you’re pulling forms from compacted or rocky soil, they drive straighter and pull cleaner. The right choice depends on your soil conditions and how many times you plan to reuse the stakes.

President/CEO
Kent Stevenson is the owner and president of Stevenson Supply & Tractor Co., a family-owned equipment and supply company serving Sonoma County and the North Bay agricultural community since 1967. Under Kent’s leadership, the company has expanded from a small tractor dealership into a trusted regional provider of agricultural equipment, hardware, fencing, and repair services.
Kent is known for his deep agricultural knowledge, hands-on approach, and commitment to serving the local farming and vineyard community. His business philosophy blends old-fashioned service with modern efficiency, ensuring every customer—from homeowners to commercial growers—receives honest guidance and reliable equipment solutions.
Stevenson Supply continues to reflect the values Kent grew up with: hard work, integrity, and dedication to supporting the people who keep Sonoma County growing.